Monday, September 30, 2013

About time I post again....sorry for the delay....

Well I have done some stuff, but mostly I have been gathering trailers....I now have six.....that's enough, I really wasn't expecting to have that many, but because of some circumstances I ended up with all these trailers. So I thought I would show you the ones I have picked up. I already showed you the work that I have done on the 1955 San Gabriel and the one I finished last Year the 1962 Travel Lux.....


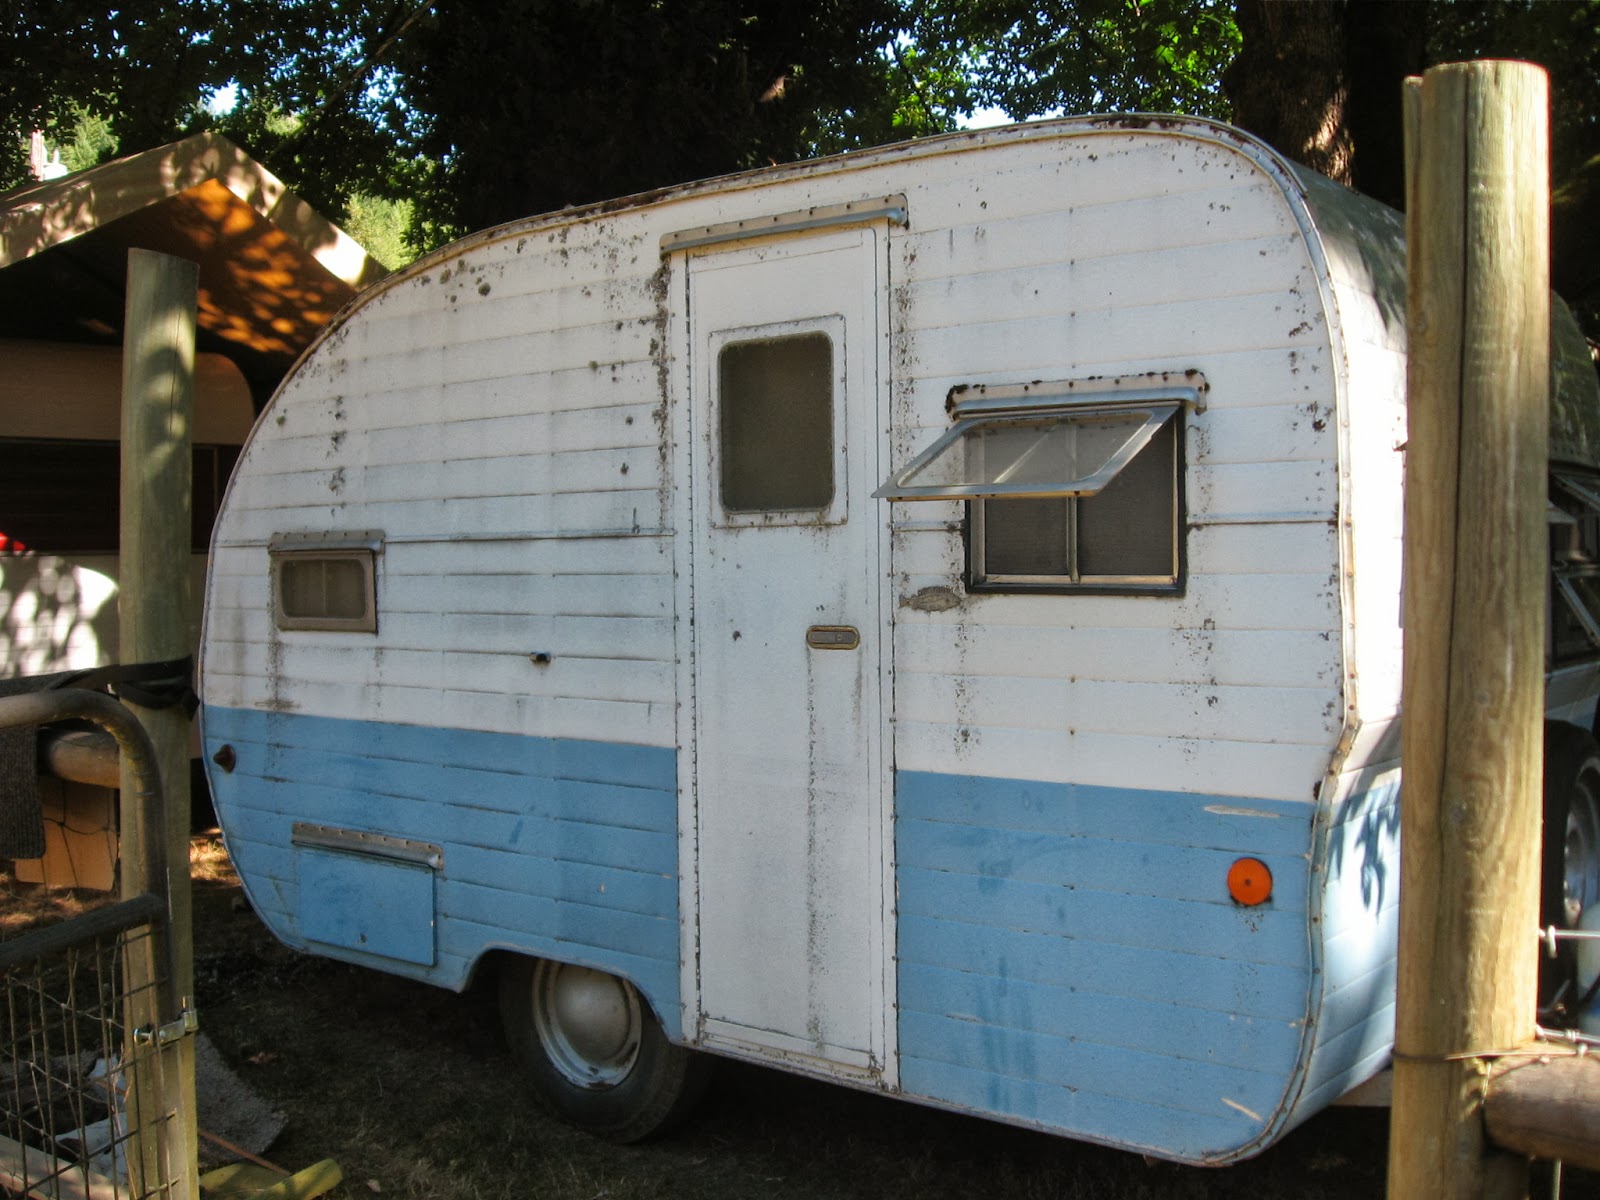
This trailer is one of the four I purchased from a guy out in Creswell who had these on his property as spare rooms for his kids. They have been out in the elements for probably 20 years...so to say there is dry rot problem would be an understatement. This is the only trailer I can't identify yet....I figure from everything and everybody I have asked about it that it's either a 1953 or 1954 model.


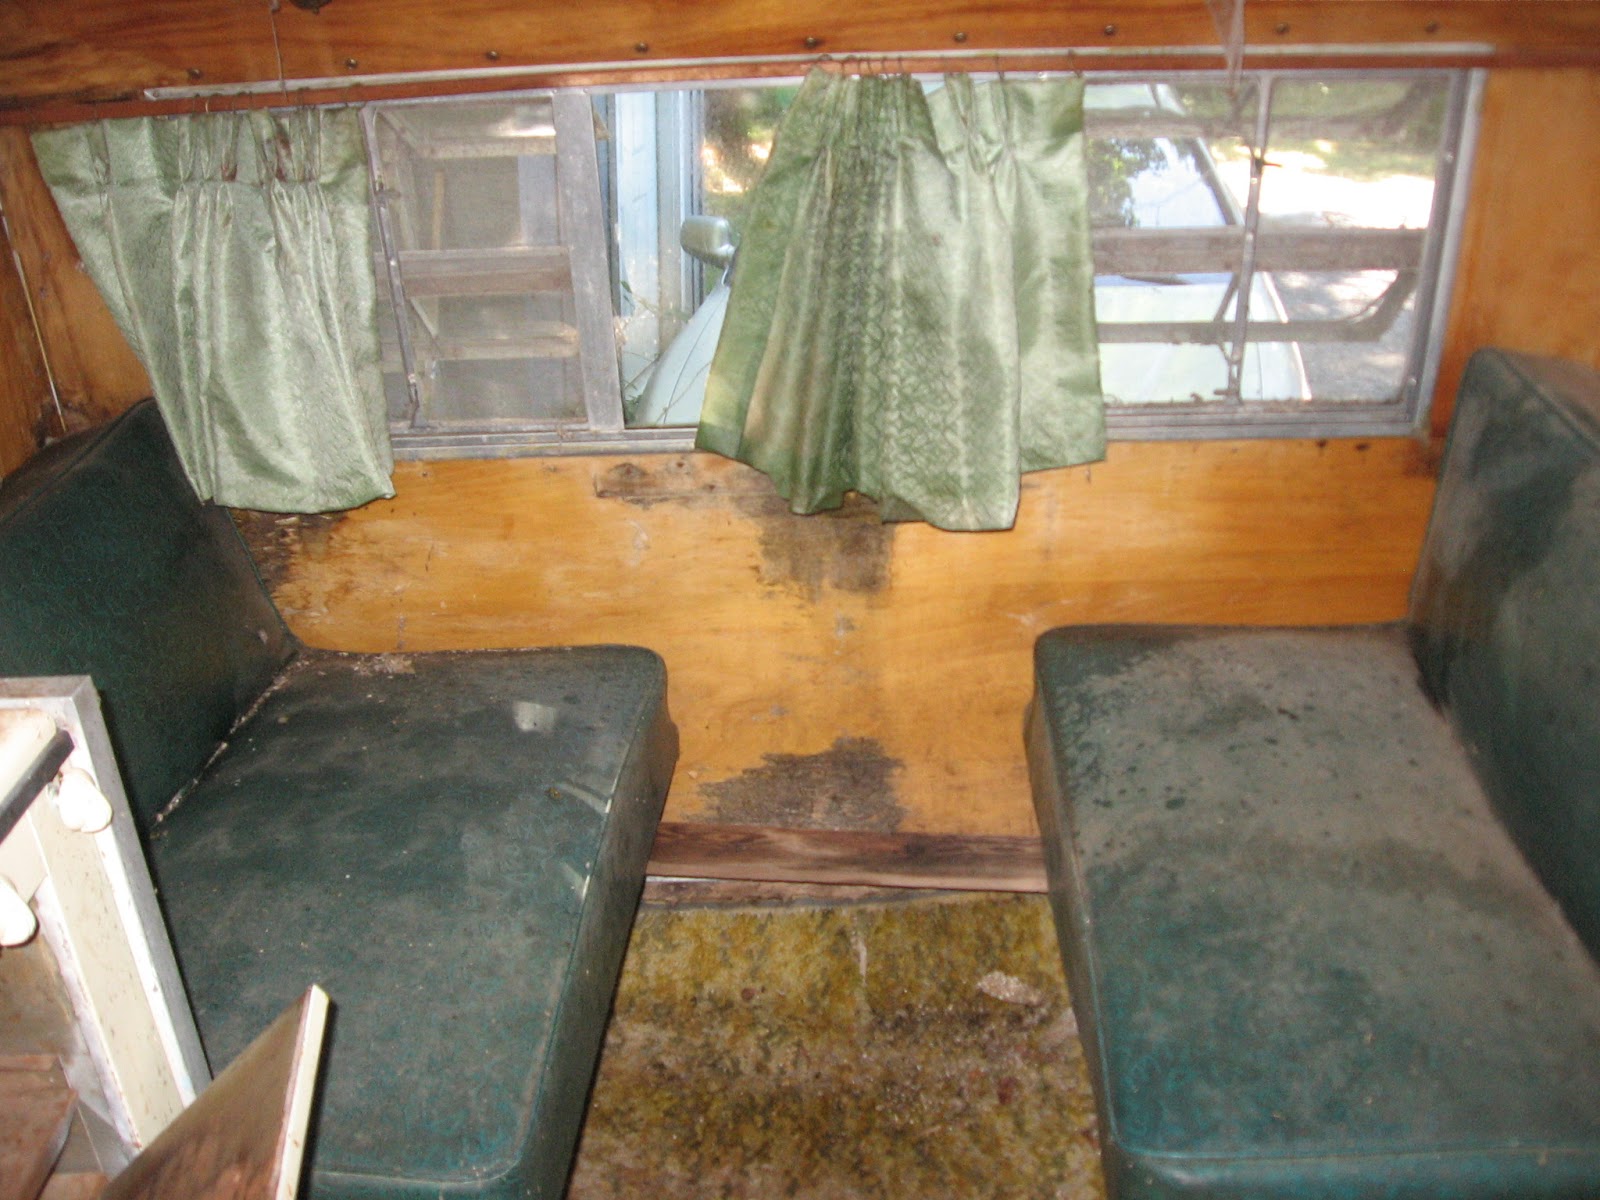
This one is pretty rare a 1954 Rainbow.....this is the only one of the four that I got from Mike in Creswell that wasn't too bad inside...it needs a really good cleaning and will need some of the panels replaced...I really like these Rainbows..


1966 Serro Scotty...I love this little trailer, really not much too it inside, I actually took this one down over a weekend to this .....

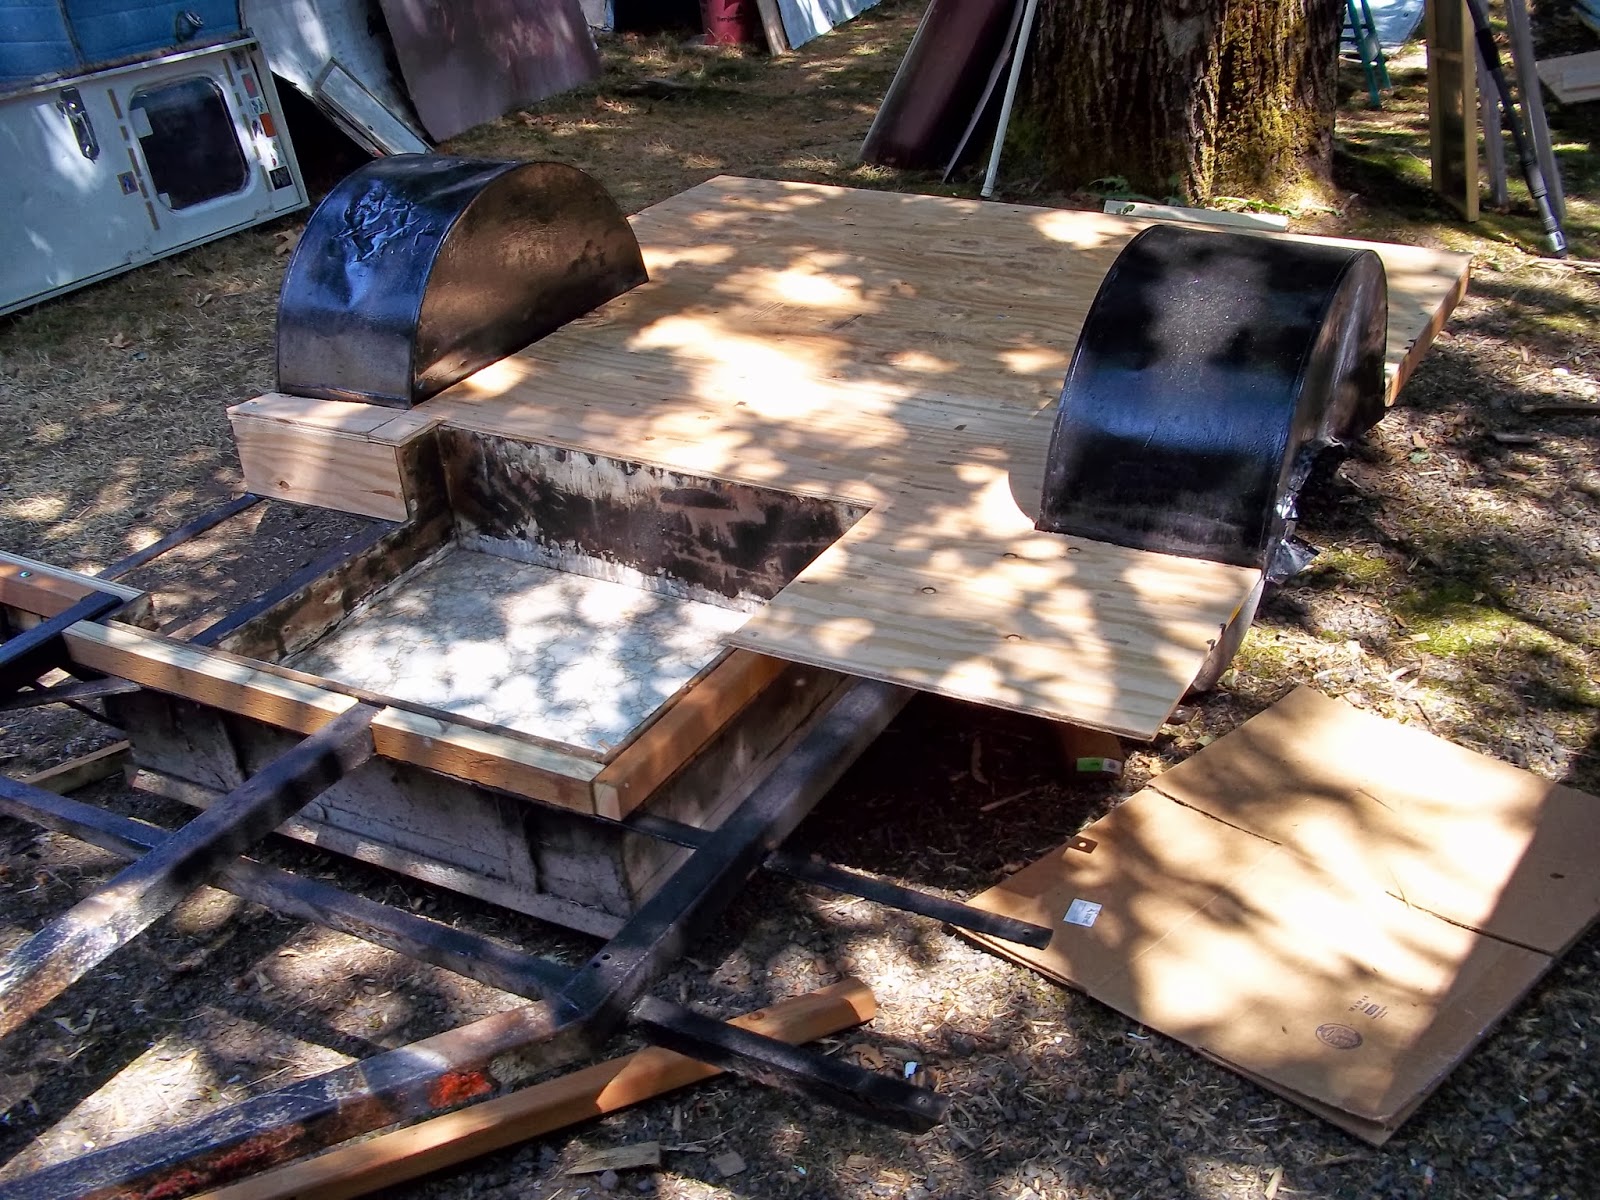
Painted the wheel wells black and put part of the new floor on.....this one needed to be taken down to the floor....this is the only trailer of that era that I know that didn't use framing, what this trailer had was one huge piece of 6 X 10 plywood....for the siding frame. I will have to use 3 pieces of 4 X 8 and then use a new tool called a Biscuit plate Joiner and then I will be able to connect all three pieces to make the two sides.


This one was hard to pass up as it was free...I really didn't need or want another trailer, but this 1970 Shasta Compact Trailer was too nice to pass up ...the outside needs a bunch of TLC, but for the most part the inside is pretty clean with very little dry rot.....so as you can see I have more than I need...I'm hoping to have the 1955 San Gabriel done first and then The Shasta and Rainbow would be next while getting the 1966 Serro Scotty done...that one I will keep for myself as it's a light trailer that I can take to the races, fishing and I can pull it with my V6 Ford. Will have another update real soon.....


Adam


Thursday, February 14, 2013

Almost done with the framing...


Finally the end is coming to the framing of the left side...as I had to basically re-frame the entire side. Hoping to have the rest of the floor and whatever framing on the right side needs to be done by this weekend....will see if that happens.


Some more before and after.....trying to get the piece over the wheel well was a challenge....was able to get some additional shelving this past week to help in organizing my tools in the shop....as most of you know my shop is about the size of a bathroom...I need more room....one day.

You know, craigslist is just the best...I find all kinds of deals on there, but this past Monday I scored the best one yet. When I gutted this trailer the stove was so infected with mice droppings and nesting material and it was just too rusted away to be used, I knew I would need to find another one, also needed an ice box, sink and water faucet....and also would need to recover the dinette seats....well on Monday I accomplished all of that and more for a fraction of what it would have cost me.

I saw this add that said a 1958 Oasis all the inside needs to be gone for one price..I would get a princess Stove that I never see less than $150, and Ice Box, the counter top with a sink and faucet. I would also get this really cool retro style Dinette set with the table and all the shelving and drawers that was underneath
the counter...I had priced getting my seats recovered and knew it would cost between $350-500...well I got everything for $225.....the only catch was I would have to go up to Salem and get everything out, which would take about 5 hours ...for the price it was worth it. So I planned for a very long Wednesday Night.

When I called this lady whose name is CeCe she said that her and her husband had gutted it for me. So all I had to do was drive up pick it all up. So when I got there knowing that they saved me 5 hours of work...I gave them $300 and nice bottle of wine. They were just great people and to get all of that stuff to go write into the San Gabriel was too good to be true...I had anticipated dropping around a $1000 to get everything and now for $300 I had it all....take a look..


Most of the wood I can still use to make the counter top with the drawers. So I took everything even some of the stuff that I knew I would throw away...whatever they took out I just took cause I was so appreciative of the fact that they did all the hard work.....Just a great chance to meet some nice people. CeCe had a 1958 Oasis that was restored and was beautiful...I was of course very jealous of their work area...When most of the time I'm working outside even when it's cold I was dreaming of having the same room one day. Take care all.....Till next week... 

Wednesday, February 6, 2013

Making Progress.....


Well after getting some guidance from my father-in-law on trying to match the curvature of the framing we were able to get close and I was able to get the new wood in place....


A little before and after shot here...I finally got the floor in and I added more stability to the frame by putting in 2 more 2 X 3 to give the floor some much needed added strength. I have watched many videos on restoration and everyone of them are amazed at how poorly these trailers were built and you can add me to the list. I'm amazed at how bad this one was built...very little framing and what there is of this trailer is only being held by staples, no glue, nails or screws of any kind can be found and the least amount of insulation they could get away with. So I added some more framing and also took some very thin tin and stapled them in to the frame to give added strength.


So you can see the difference in the stability of the framing...much of the frame was as much as an inch away from the place it started and was hanging on by the end of one of the staples....how this stayed together I will never know. So I went ahead and where I could, I placed a screw and as you can see added many of those little tin pieces with my staple gun and what a difference it made. The floor came together nicely even though on both edges toward the back the frame is a little bent and made it hard to get the bolts in there. So this next week I hope to get the rest of the framing in the back done and them replace the rest of the floor. So till next time........

Thursday, January 24, 2013

Taking it all the way down to the Frame....


Well I knew this baby would need some TLC and after taking some of the siding off I realized that 20 years of sitting in the Blackberry bushes and in rain country, had taken it's toll. The frame in at least 30% of the trailer had dry rot to the point that when I touched the wood it would just crumble in my hands...and then I looked under the trailer and realized the floor was toast...so I decided to take the floor off and start from scratch.


Also you might be able to see that this whole frame is being held together by staples and that's it....many of the pieces of the frame aren't even attached to the wood, in some cases they are 1/2 inch away...so once I get the floor put in I'll be able to put new wood in the frame. I'll use wood glue and a staple gun to reattach the frame. I will also add some more framing to re-enforce it and make it stronger than it was before. It's amazing how little framing is in this trailer and yet it's all original from 1955. The floor was just rotted out and had to use a reciprocating saw to cut the bolts off as they rusted like everything else in this trailer. So now it's onto getting the back third of the trailer framed and a new floor in it. Then I can get the new birch put in the back so I can button it up before I head to the front to do the same thing as the back. Next time I hope to show you the new floor and have it all re-framed. Take care...

Adam

Tuesday, January 15, 2013

Bringing back a 1955 San Gabriel.....


October 2, 2012

     Brought her home and got a chance to see what I was getting myself into.....my brother-in-law Jim and I went and picked her up and in the process I got stung by a wasp.....which after opening the door was bound to happen as there were hundreds of them. Jim couldn't get the words out quick enough to duck and bang one got me in the cheek. Damn little thing nailed me before I had a chance to move. After Jim picked himself  up off the ground from laughing his ass off we could get back to getting this hooked up for her drive to my place. So needless to say I had the spray the hell out of the inside so I could access the inside of the trailer. I knew this might be a complete restore and after letting it seat for a few days I was right. This had been sitting on this farm for years and years. It was badly water damaged.


As you can see I will need to start from the ground floor and bring her back to her original self.  The guru of old trailers as far as information is man named Juergen Eichermueller from Germany. I got in contact with him and he sent me a CD with information on this and the other trailer I bought a 1954 Rainbow ....That's for a later blog.....for now were going to start and concentrate on the 1955 San Gabriel. named after the San Gabriel Mountains in Los Angeles. This is a little 13 footer and has that classic Can Ham look. The wheel wells are one way to know what you might have as these were only seen on these and I know the Jewell also.


You can see from the above pictures the dry rot was extensive. And yet I'm thrilled to be able to restore from the ground up. Over at www.cannedhamtrailers.com/ he literally walks you through step by step on the best way to replace and restore the trailer. I have my own ideas on what I want to do. But hopefully you'll check back and see the progress of the restore.

Adam